STONE-EFFECT BOOKSHELF DIY
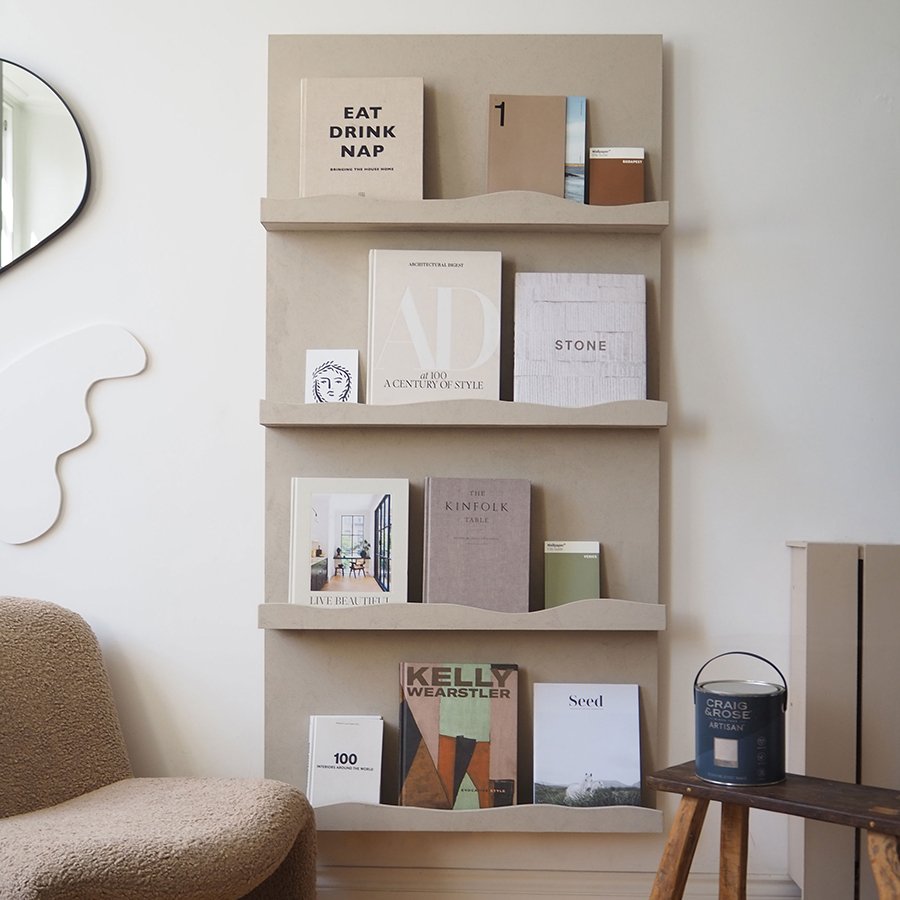
I worked with paint brand Craig & Rose on this simple DIY using their stone-effect paint for a display shelf for my favourite coffee table books.
[This blog post is part of a paid partnership with Craig & Rose]
If you follow me over on Instagram, you might already know I’m pretty obsessed with Craig & Rose’s Artisan Stone paint. I’ve used it to upcycle all kinds of things in my home as it’s perfect for giving that earthy, textural finish that I love in interiors.
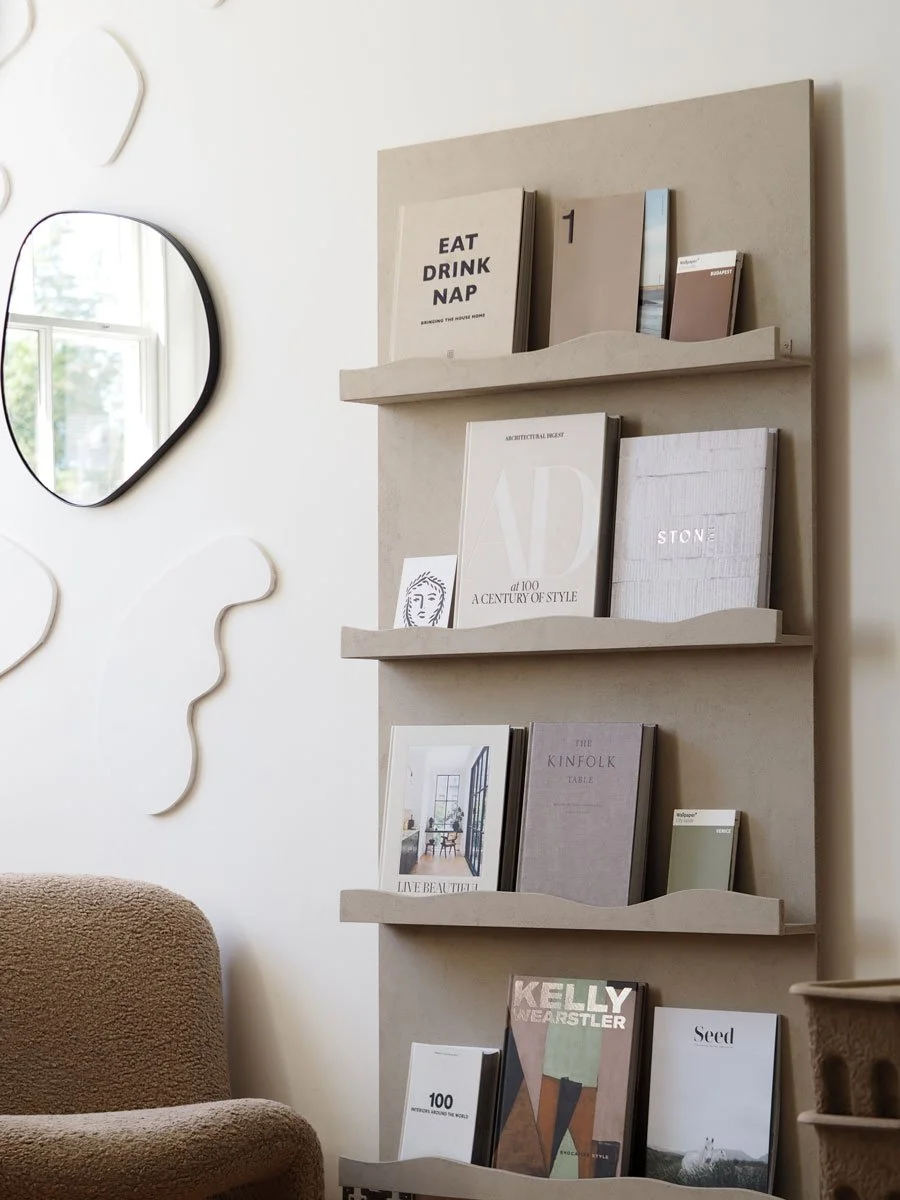
I’ve been thinking of making a coffee table book display for a while, but then the brainwave of using the Artisan Stone effect paint and creating a curvy-edged shelf came about - all that good texture and organic shapes I love. I used the European Stone colour, which is probably my favourite, but I’ve used Castaway a lot too. There’s a Charcoal shade too, which is on my to-buy list too.
This was actually a super easy DIY past getting the board itself cut (and fitting it in the car), but if you don’t have the facilities for getting something large cut to size, luckily you can get it done at your local DIY shop’s cutting services. Here’s how I made it.
How to DIY a stone-effect book shelf


Get a board of 12mm MDF cut to the size you want. Just make sure your height divides equally by the number of shelves you want so they’re evenly spaced. Make a frame for the back of the MDF from timber battens, with supports in between.
I used a mitre glue to fix in place, and then drill pilot holes and used screws to put the whole thing together. Once that’s done, we can start to work on the front.
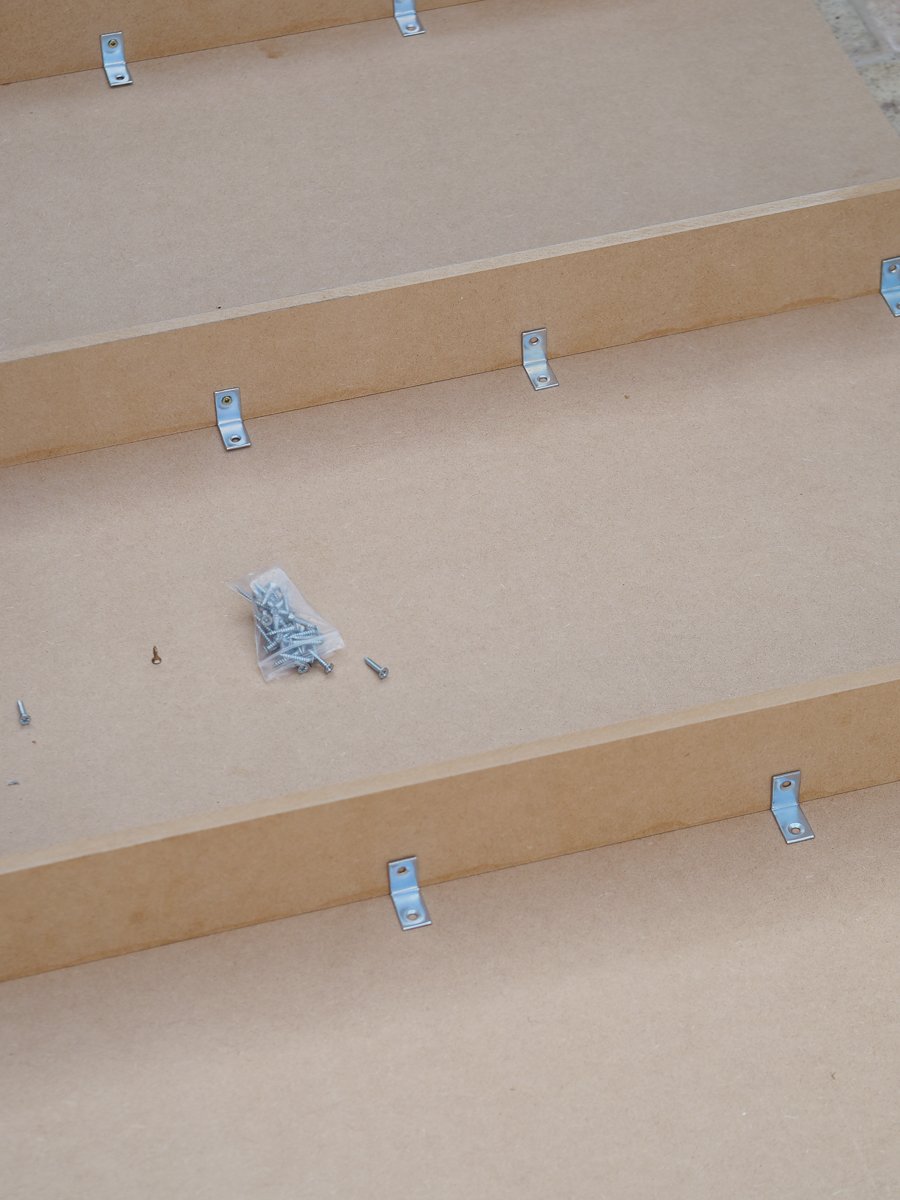
I had the DIY store cut shelves too, deep enough that chunky coffee table books can sit comfortably. I used a mitre glue to fix, and then add small L brackets. I’m just going to paint over these with the paint to disguise them, and the books will cover them anyway.
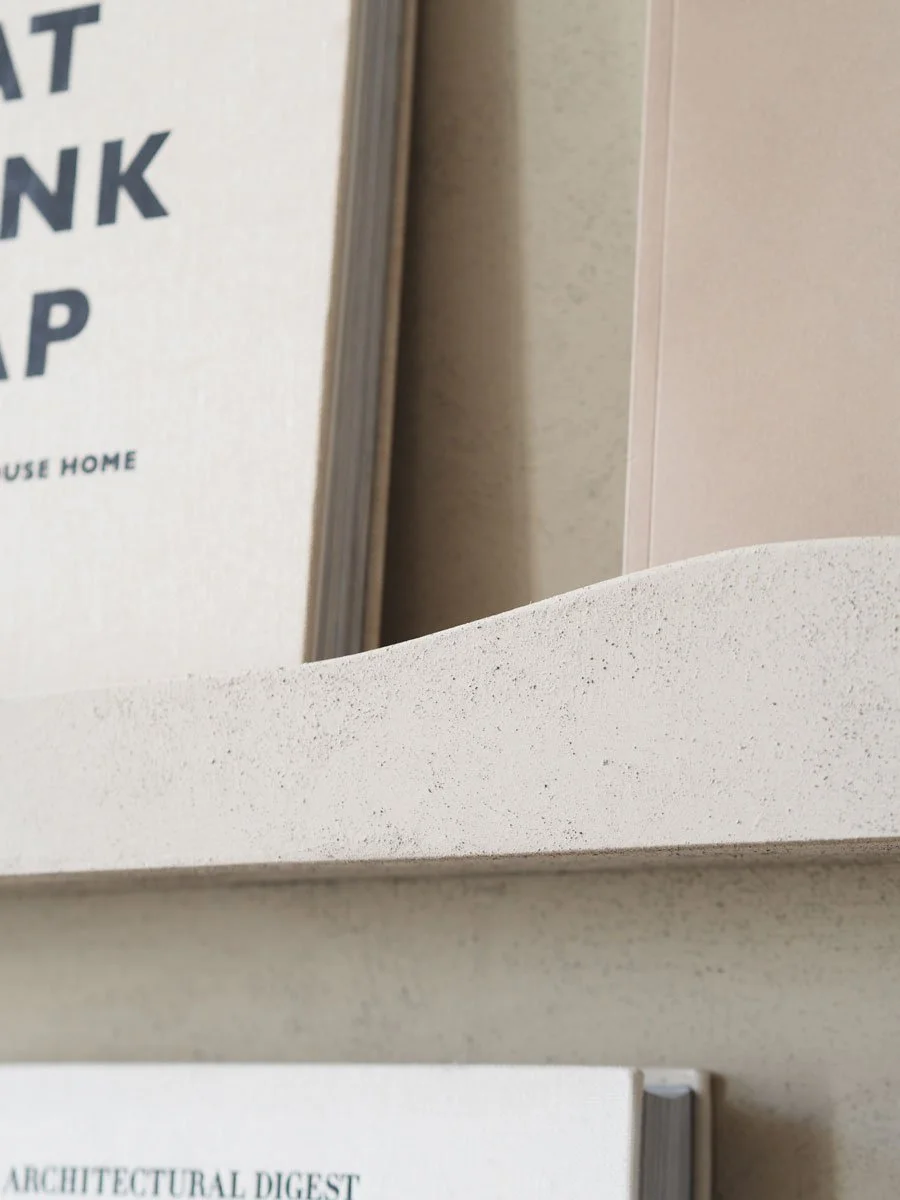
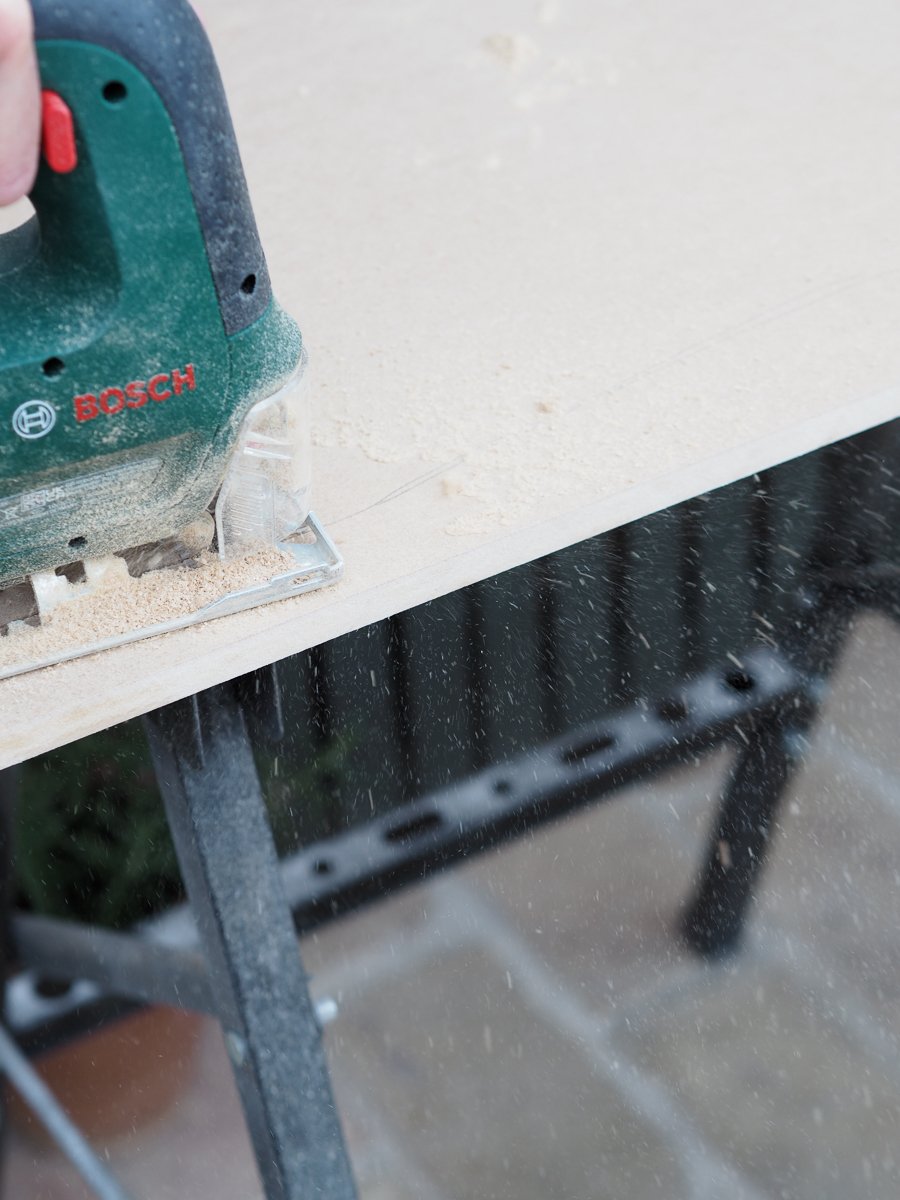
With a jigsaw, I cut some wavy lines from the same MDF for the front of the shelves. I stuck these with glue again, that fixed with screws again, making sure to countersink the screws so I could fill over with wood filler.
I sanded the tops of the shelf (while sanding the filler) for a more organic finish on the shelves. Then onto the painting.
I could have primed this first, but because there’s a bit of grit in this paint, it actually adheres to the MDF pretty well. I painted with a brush, just in simple strokes for the first coat.
Once dry, for the second coat, I used criss cross and dab motions to apply the Artisan Stone as this creates less paintbrush lines. It’d probably work well with a roller too, but I prefer the control of the brush on a smaller project like this.
After the second coat, it’s really important you let it cure properly before using it as it is a decorative finish. Three days should do it.
You need to figure out how you’re going to fix it to the wall, bearing in mind it’s pretty heavy with books on. I fixed a batten to the wall, and screw down from the frame into the batten. This is plenty sturdy (and safe) enough for the type of wall I fixed it too.
So, what do you think? I’ve got a load more project ideas I want to use this paint for to work through, but Craig & Rose also have a range of other amazing Artisan Special Effect paints (as well a standard paints) to try too, if you’re feeling creative!