DIY SLATTED RADIATOR COVER TUTORIAL
This DIY radiator cover is super simple thanks to some pre-cut MDF wall panelling from my local DIY shop.
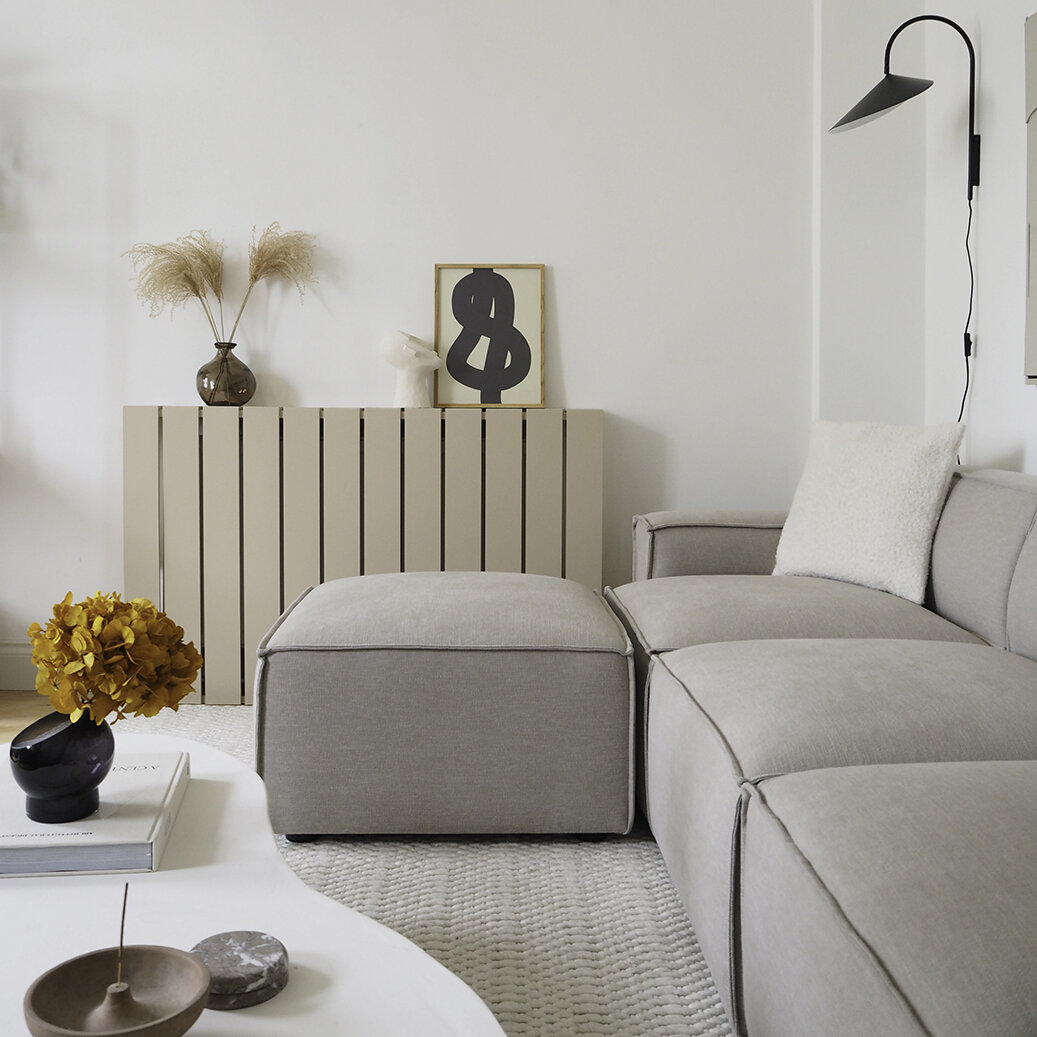
I’m back with another DIY on the blog! This time it’s a pretty simple but useful one for anyone who is stuck with an ugly radiator.
I’ve been lucky enough to change the radiators at home to beaut new column radiators, but I found myself with this hulking thing at the studio which is definitely not so photogenic.

I’ve been meaning to make a cover for it for a while, but getting MDF cut into so many strips is tricky. You’d either need a table saw set up, or have to rely on the kindness of whoever is operating the saw at B&Q or Homebase.
Luckily I found these pre-cut mdf panels from Homebase, designed for Shaker wall panelling, that were perfect for a design I had in mind.
Want to see how I did it?

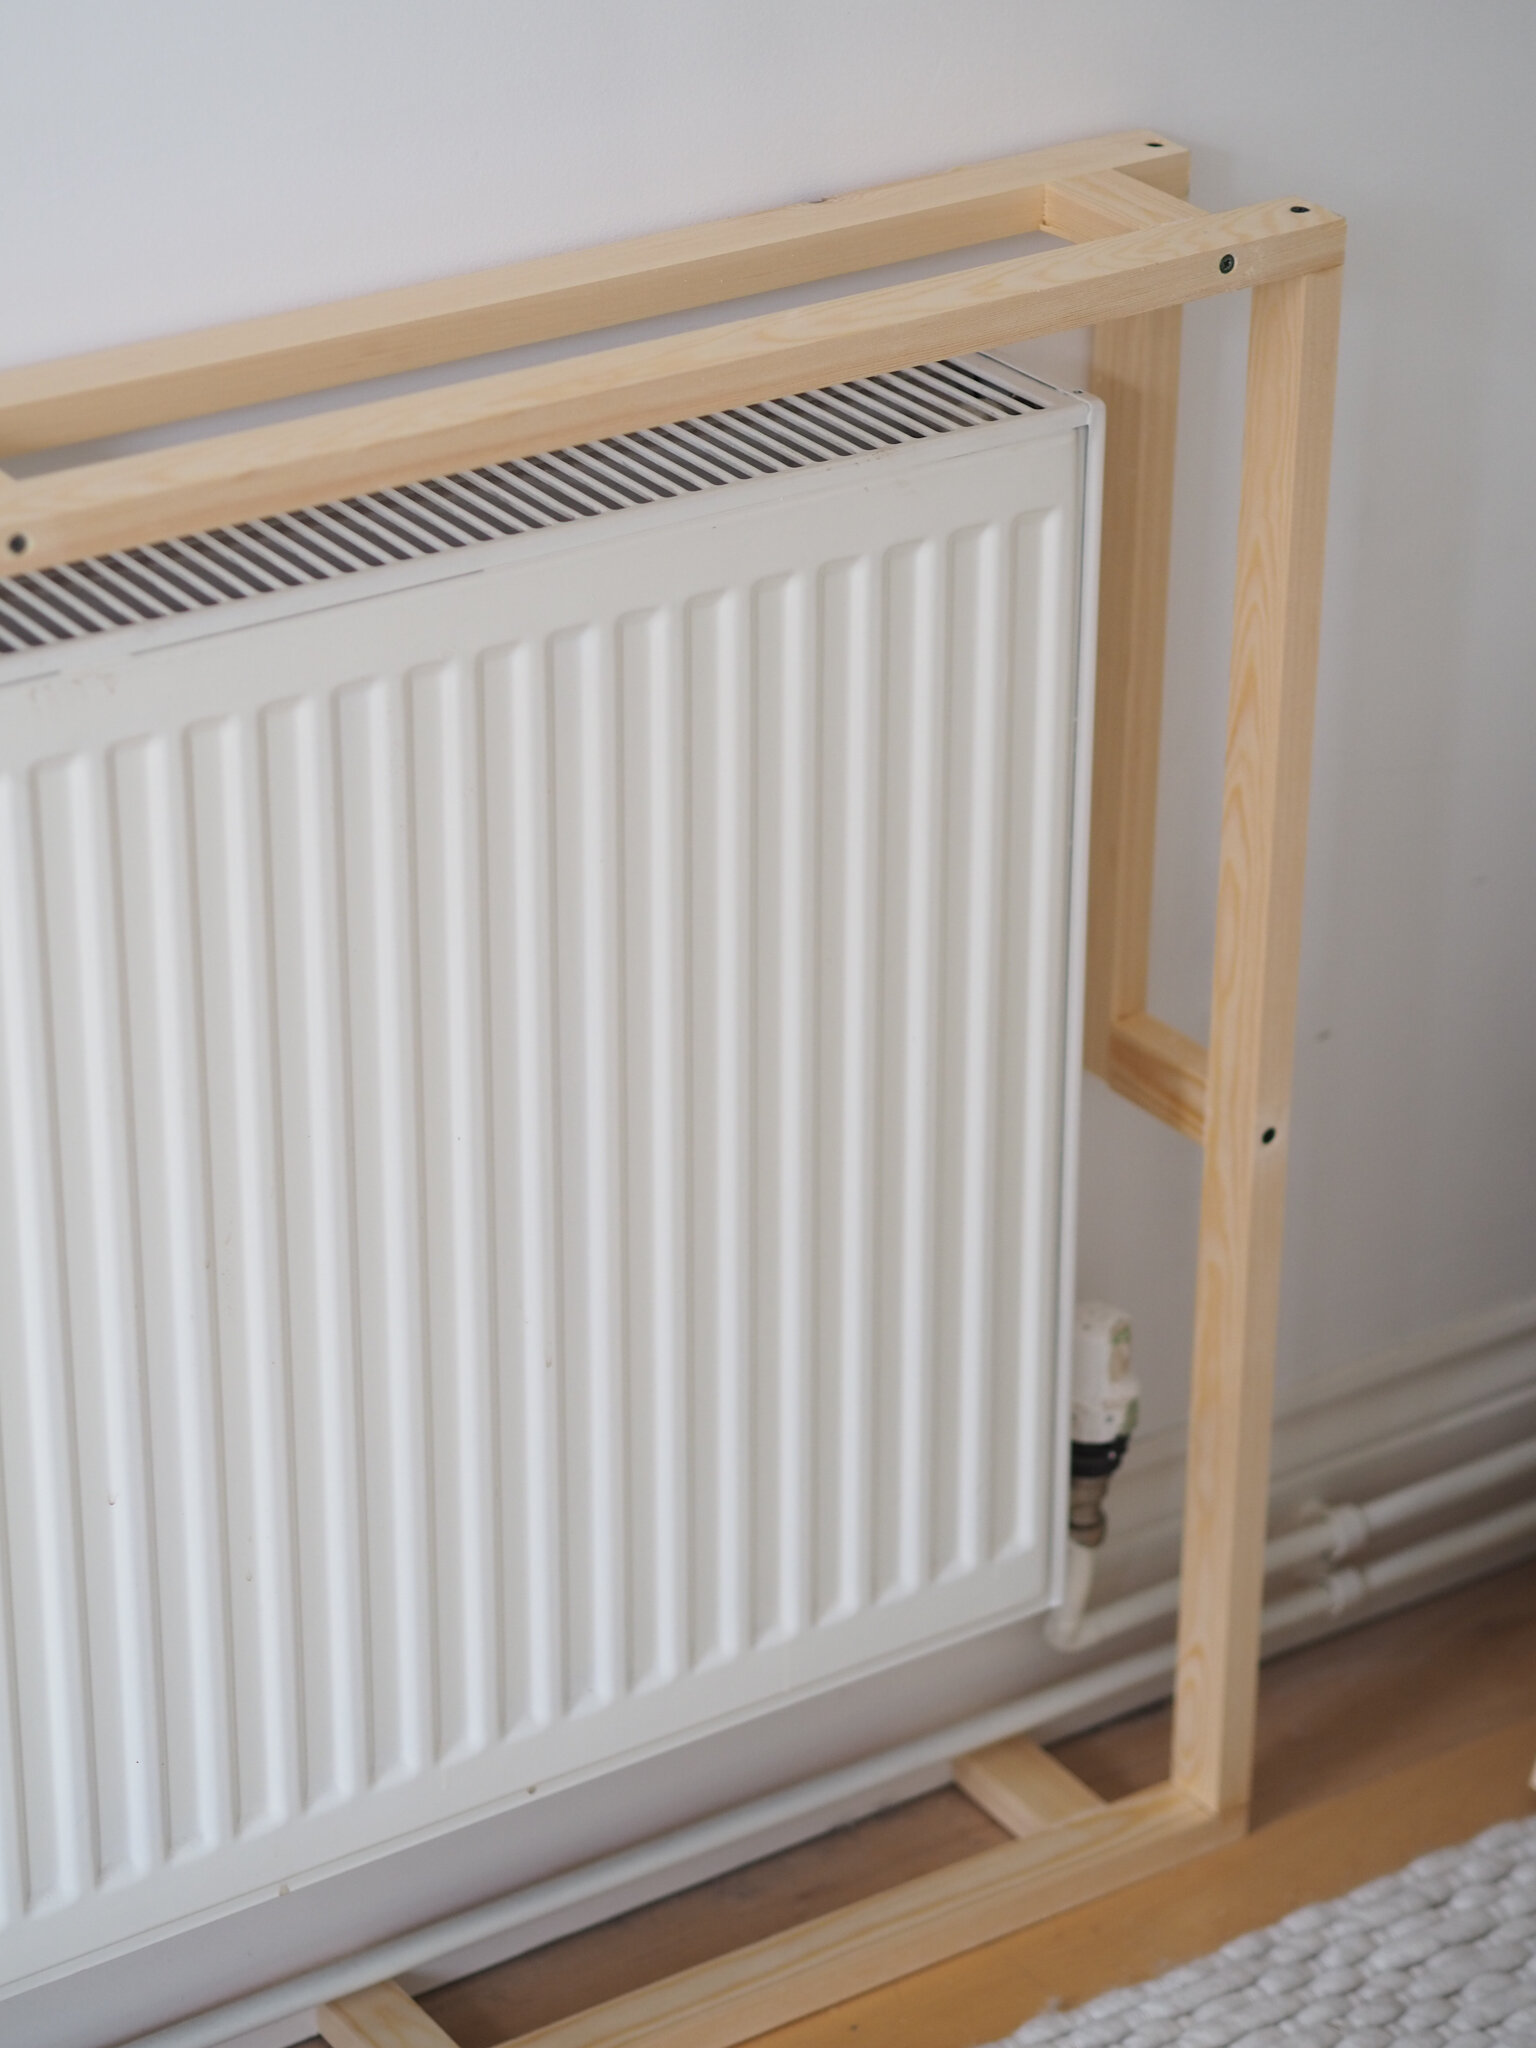


I started by making a simple frame from pine battens, My usual technique for this is to cut the pieces with a table saw, stick with a spray adhesive mitre glue, drill pilot holes, countersink the holes and then fix with a screw. This should give you quite a secure frame. Mine was a little more complicated as there are exposed pipes at the bottom of the radiator, but it should be simple rectangles with a few supports between.
Sort the wall fixing out once the frame is done. I used these flush mounts attached to the back of the cover and the wall. It can then just be lowered into place.
Next time to cut the panelling strips. You’ll need a mitre saw set to a 45 degree angle for this. This will mean when two cut pieces are put together, you’ll get that perfect right angle.
You’ll need to work out the right number of slats and the spacing between so that it fits the frame you’ve created perfectly. Adjust until it looks right.
I fixed the slatted panels onto the frame again with a spray adhesive first, then with pilot holes, a countersink to bury the screw heads before finally screwing into place. I left small gaps at the sides to allow access to the radiator valves, so cut half slats for the side panels.
The panels then needed to be filled with a wood filler or general purpose filler and then sanded down to a flat finish before priming and painting. After that, it’s ready to be fixed to the wall.

I’ve seen a few people have made this project already.. If you do, I’d love for you to tag me on Instagram so I can see!
So what do you think of this DIY radiator cover? Let me know in the comments…